Use a cold frame for your winter indoor gardening.
For winter indoor gardening a cold frame is an invaluable tool for extending the growing season and protecting delicate plants. Essentially mini-greenhouses, cold frames are simple, transparent structures placed over garden beds to create a controlled microclimate that keeps plants warmer than the outside temperature.
It works by capturing the heat of the sun during the day and then holding it inside over night so your plants will grow even if it is freezing outside. The best area to put a cold frame is in a warm sunny spot against your house or a shed. Make sure it is placed in a sheltered area especially if you get a lot of wind.
What will you use a cold frame for?
- Over wintering your tender vegetable plants.
- Grow happy seedings in the spring or fall.
- Moving young vegetable plants from a warmer greenhouse to a cooler area before transplanting them outside.
- Use it as a raised bed in the summer months by removing the roof.
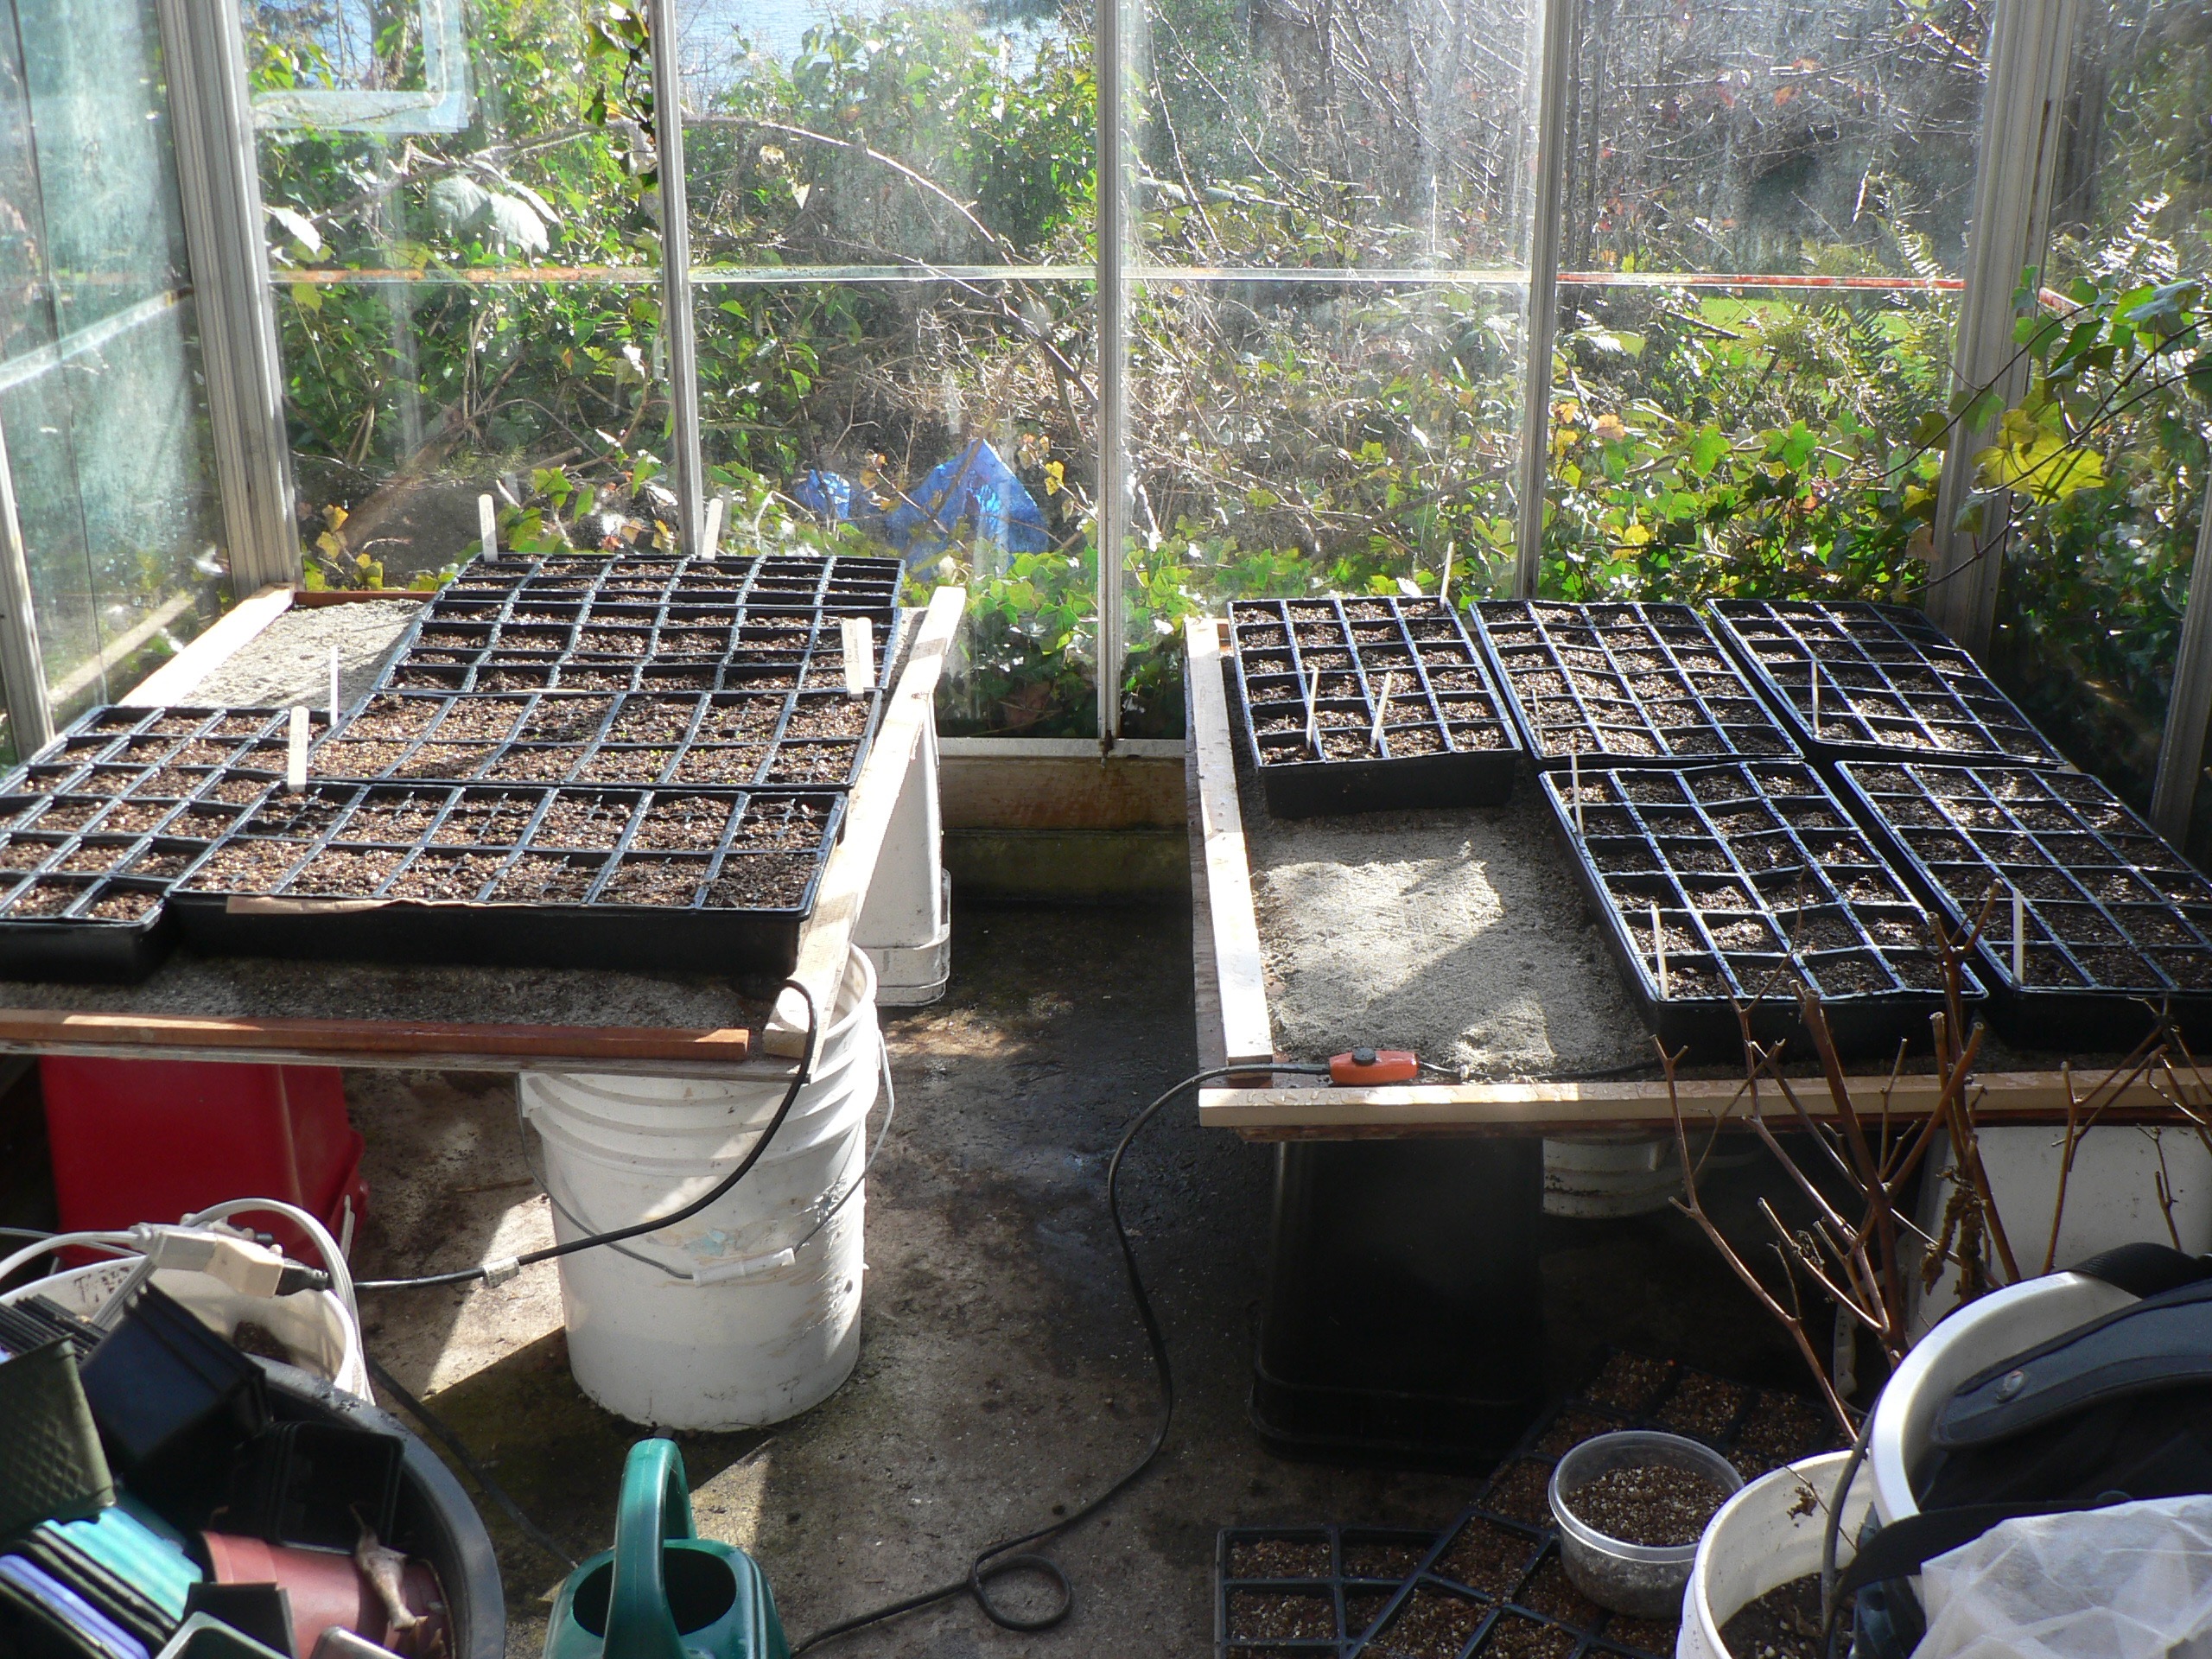 Indoor winter gardening under glass
Benefits of Cold Frames
1. Season Extension: Cold frames allow gardeners to start seeds earlier in the spring and continue growing crops later into the fall. This can be especially beneficial for cool-season crops like lettuce, spinach, and radishes.
2. Protection from Frost: Frost can be devastating to young plants. Cold frames provide a buffer against unexpected cold snaps, shielding tender seedlings from frost damage.
3. Better Seedling Growth: By providing a warmer environment, cold frames encourage faster germination and growth of seedlings, giving them a head start before transplanting.
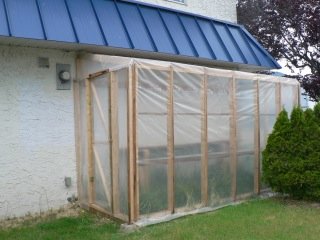 DIY cold frame
DIY Cold Frames
Cold frames can be purchased, but they are also easy to build yourself. It can be as simple or as elaborate as you want it to be with no standard size so it can be built to suite your garden.
A simple cold frame can be made with common materials from old windows, wooden boards, bricks, concrete blocks or even bales of straw. The most important feature is the transparent cover, which allows sunlight to enter while trapping heat inside.
After you build your structure, cover the floor of the cold frame with 3 to 4 inches of sand. This will help with drainage, which can become a problem especially if you live in a wet winter climate. Place your vegetable pots directly on the sand.
How to Use Cold Frames
1. Location: Place your cold frame in a sunny spot, preferably facing south, to maximize sunlight exposure. Ensure it’s on level ground for stability.
2. Ventilation: On warm days, it’s crucial to ventilate the cold frame by propping open the lid to prevent overheating. Unventilated cold frames can easily become too hot, stressing or even killing the plants inside.
3. Soil Preparation: Before placing the cold frame, prepare the soil as you would for any garden bed. Add compost or organic matter to ensure the soil is rich in nutrients. For a quick start when planting vegetable directly in the cold frame spread a 3 inch layer of potting mix and plant your seeds directly in the mix.
4. Planting: Start planting cool-season vegetables inside the cold frame several weeks before your area’s last expected frost date. Later, you can use it to harden off seedlings by gradually exposing them to outdoor conditions before transplanting them into the garden.
5. Maintenance: Keep an eye on the temperature inside the cold frame. On cold nights, you may need to add extra insulation, like old blankets or straw, to keep the heat in.
What is a hot bed?
This is a cold frame with an electric heating cable buried in the floor or sand. This is useful for germinating seeds quickly. You can sow seeds in pots to be transplanted in other areas of your garden later.
If you want to extend your growing season and the cold frame is not large enough for your needs try a walk in tunnel.
The best Vegetables for winter indoor gardening:
- scallions
- spinach
- parsley
- lettuce
- radish
- carrot
If the weather gets below freezing extra protection of a tarp or piece of old carpet will keep your plants warm and happy. If it is warm during the day, prop the roof open so it does not get too hot. Extreme temperatures are hard on some vegetable plants. Know your favourite vegetable plants.
Conclusion
Incorporating cold frames into your vegetable gardening routine can significantly extend your growing season, protect your plants from harsh weather, and enhance the overall success of your garden. With a little planning and care, cold frames can become an essential part of your gardening toolkit.
Return from Winter Indoor Gardening to Indoor Vegetable Gardening
Recent Articles
-
Vegetable Gardening Frustrations: Lessons for a Better Harvest
Oct 29, 24 07:37 PM
Every vegetable gardener knows that while the rewards are sweet, the vegetable gardening frustrations can be a bit bitter. -
Small Space Vegetable Gardening
Sep 23, 24 05:06 PM
Small Space Vegetable Gardening - Tips for growing vegetables in small spaces. -
Why Fall Gardening?
Aug 16, 24 12:24 PM
Fall Gardening: A guide to a Bountiful Harvest.
